
I had a DIY planned for today (check out last week's curtain rod upgrade), and I'll be sticking to that plan. Because if I veered off right now this would be a post on three-year-olds who use Sharpies to decorate and who cut their sweet little baby hair three...yes THREEEEEE times in one week!!
*Deep breath*
Okay, just to clarify this DIY will have nothing to do with Sharpies. Instead, let's focus on all thing white and pretty and mappy (we'll pretend that's a word).
Ready to do this? Here's what you'll need:
-a large frame complete with backing
-tin ceiling tiles (I got my antique ones off ebay for a reasonable price. Check HERE for some that are being sold right now.)
-a map or pages out of an atlas
-a very strong adhesive such as Gorilla glue
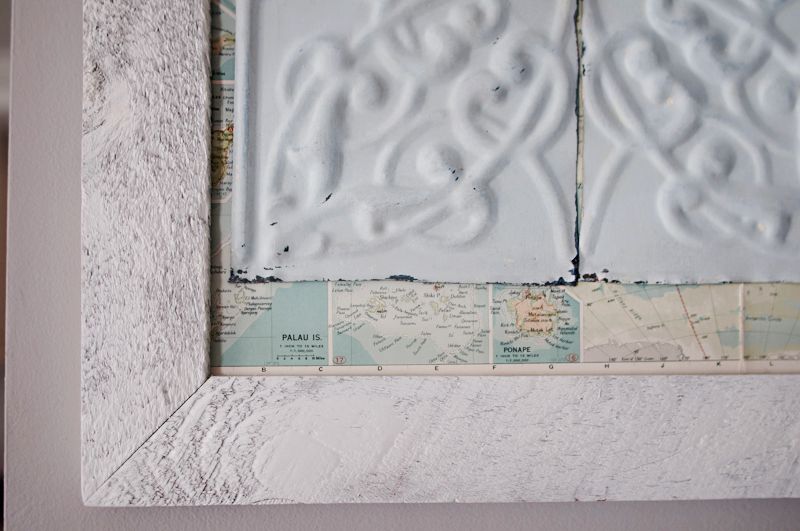
Let's start with the frame. I got mine from a Goodwill. It belonged in a dark wood paneled room from the '70s complete with a poor quality bird photo. I loved the grain in the otherwise ugly frame and used a thin paint to be sure not to hide the beauty of the texture.
After this, I pulled pages out of an old atlas to cover the frame backing. I chose pages based on how well the colors of the map went together. On my first attempt, I used spray adhesive to get them in place. However, I noticed later that this was not going to be strong enough to last with the ceiling tiles on top, and I had to go back and redo it. So my suggestion is NOT to mess with spray adhesive, but to try my second method- take a disposable brush and carefully brush a strong glue such a Gorilla glue onto the backing. It's important to brush it on since squirting the glue will cause the map to warp. Then carefully smooth the map over the brushed glue, and give it time to dry completely.
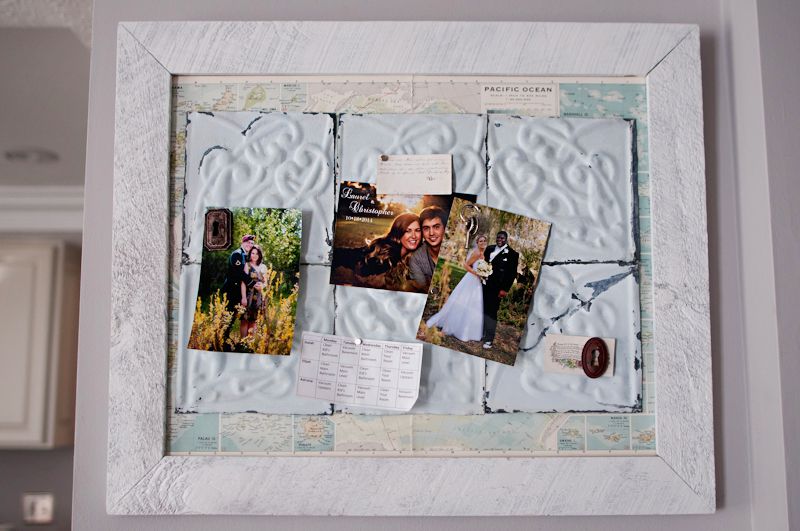
Once the map had dried on the frame backing, I put it back in it's freshly painted wooden frame. I used the same Gorilla glue (this time simply squirting it) to secure the ceiling tiles to the middle of the piece being sure not to put too much glue around the edges to avoid it bleeding into visible areas. The way you choose to arrange the tiles totally falls to your artistic preferences- do you want a lot of the map showing or just a little...do you want large area of tiles or just a strip?
One note: It's important to use tin ceiling tiles since they are actually magnetic.
Be sure to let this dry completely while laying flat.

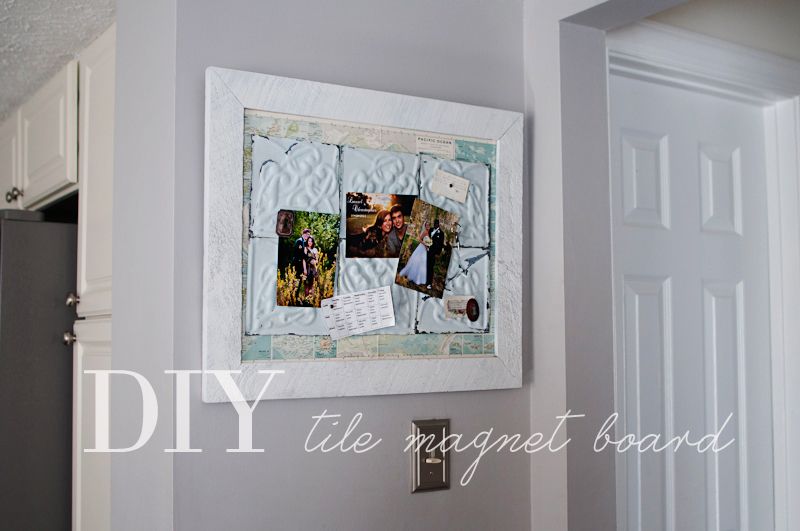
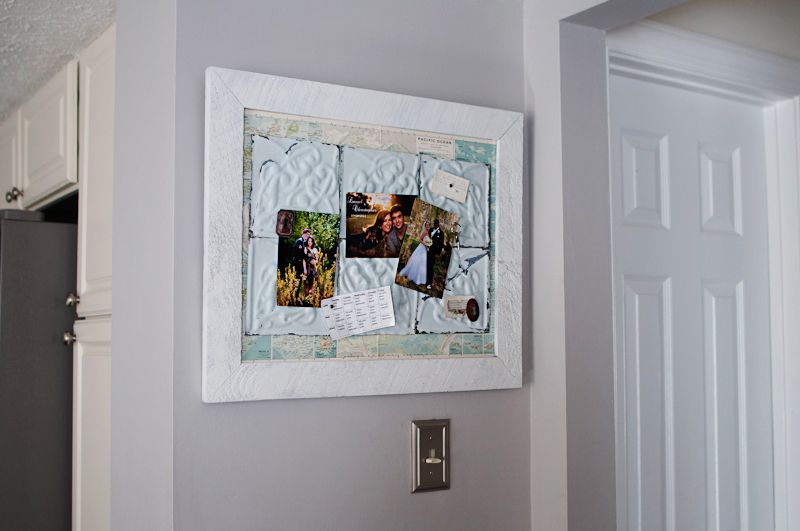
Now your new magnet board is complete.
And it's not just your new magnet board, but your new piece of art!
*Deep breath*
Okay, just to clarify this DIY will have nothing to do with Sharpies. Instead, let's focus on all thing white and pretty and mappy (we'll pretend that's a word).

Ready to do this? Here's what you'll need:
-a large frame complete with backing
-tin ceiling tiles (I got my antique ones off ebay for a reasonable price. Check HERE for some that are being sold right now.)
-a map or pages out of an atlas
-a very strong adhesive such as Gorilla glue
Let's start with the frame. I got mine from a Goodwill. It belonged in a dark wood paneled room from the '70s complete with a poor quality bird photo. I loved the grain in the otherwise ugly frame and used a thin paint to be sure not to hide the beauty of the texture.
After this, I pulled pages out of an old atlas to cover the frame backing. I chose pages based on how well the colors of the map went together. On my first attempt, I used spray adhesive to get them in place. However, I noticed later that this was not going to be strong enough to last with the ceiling tiles on top, and I had to go back and redo it. So my suggestion is NOT to mess with spray adhesive, but to try my second method- take a disposable brush and carefully brush a strong glue such a Gorilla glue onto the backing. It's important to brush it on since squirting the glue will cause the map to warp. Then carefully smooth the map over the brushed glue, and give it time to dry completely.

Once the map had dried on the frame backing, I put it back in it's freshly painted wooden frame. I used the same Gorilla glue (this time simply squirting it) to secure the ceiling tiles to the middle of the piece being sure not to put too much glue around the edges to avoid it bleeding into visible areas. The way you choose to arrange the tiles totally falls to your artistic preferences- do you want a lot of the map showing or just a little...do you want large area of tiles or just a strip?
One note: It's important to use tin ceiling tiles since they are actually magnetic.
Be sure to let this dry completely while laying flat.

Now your new magnet board is complete.

And it's not just your new magnet board, but your new piece of art!

No comments:
Post a Comment
Don't be shy, share your thoughts!