I had a couple requests to see photos of our "new" home. So I'll give you a sneak peek into our master bedroom. It was kind of my pet project since in our condo, our room was my least favorite. I wanted to for a romantic/rustic kind of look. The challenge was to do on an in-the-middle-of-an-adoption budget. But a challenge is fun, isn't it?!
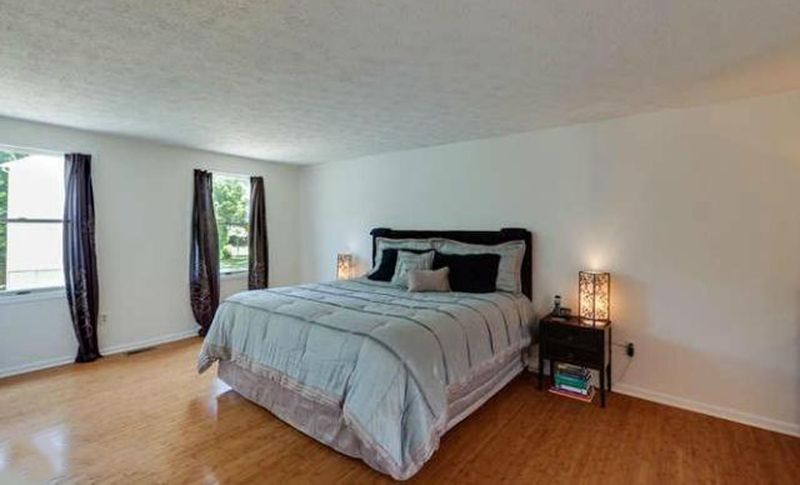
As you can see from the realty picture, we got to start with a wonderfully clean slate...
And present day...
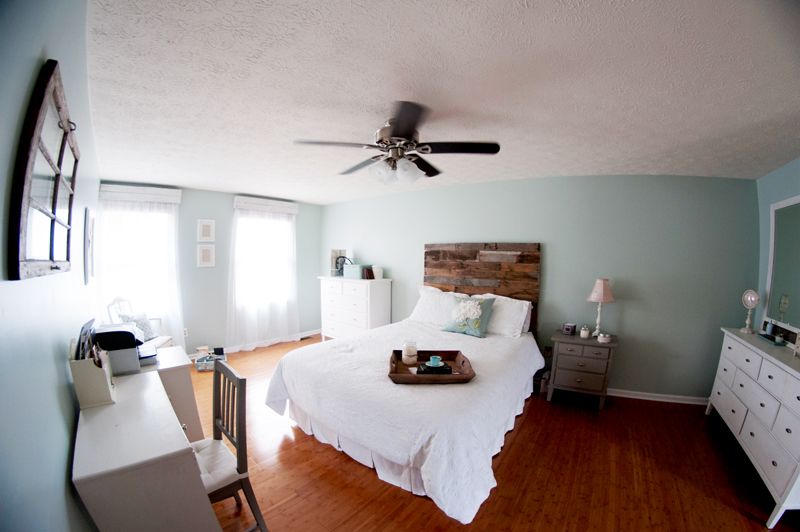
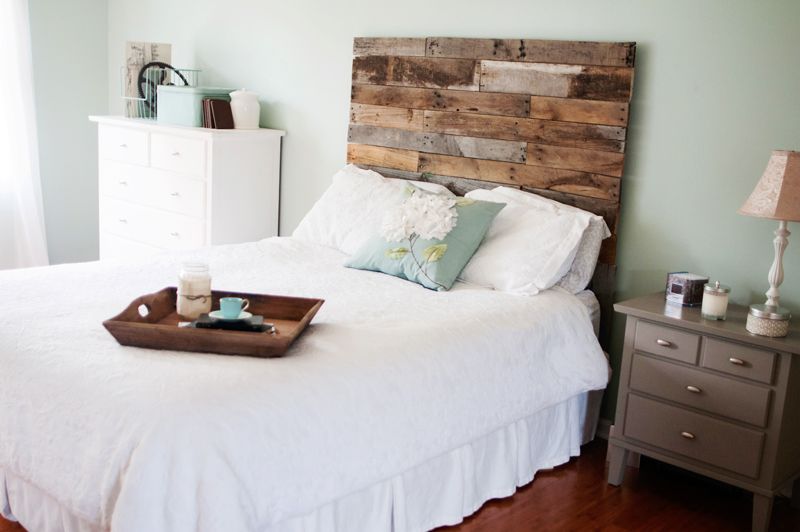
Our original bedroom furniture was a beech wood missionary style set. We had picked it out shortly before our wedding; and now I felt I had outgrown it. I made my husband promise me that we would get new furniture for our room when we moved. But it didn't take me long to realize that would totally impractical and not fit in our budget. So I started brainstorming on what to do. I knew I wanted to make sure it no longer "matched". The first step was to move the bed frame to the guest bedroom, and create a headboard that would be centerpiece of our room. This was done by raiding my girlfriend's burn pile that was full of deconstructed pallet boards. I bought a large slab of plywood, and simply started piecing the new headboard together and nailing the pallet wood into place. Next was to paint the dressers white and the nightstand gray.
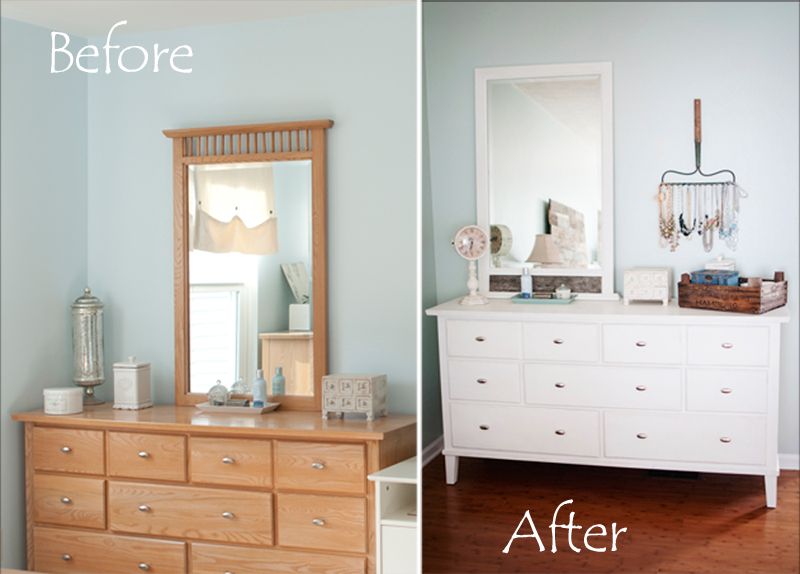
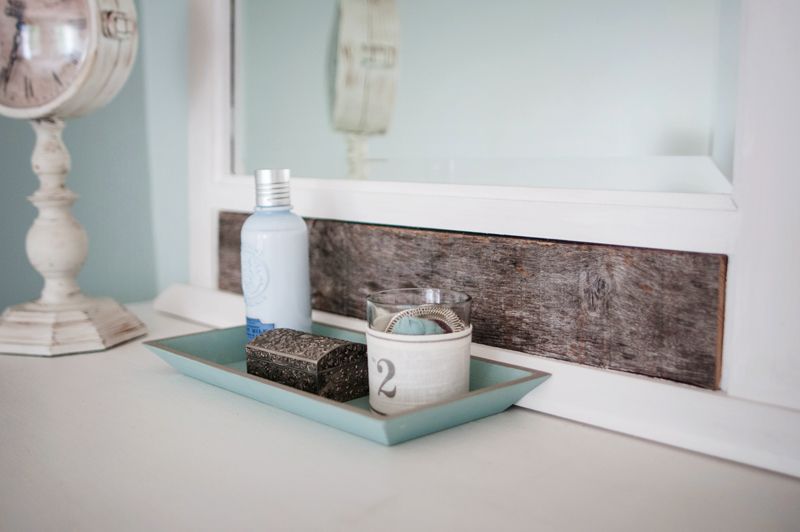
Finally, I detached the mirror over my dresser, flipped it, cut out the wooden spindles, and cut a piece of pallet wood to fit.
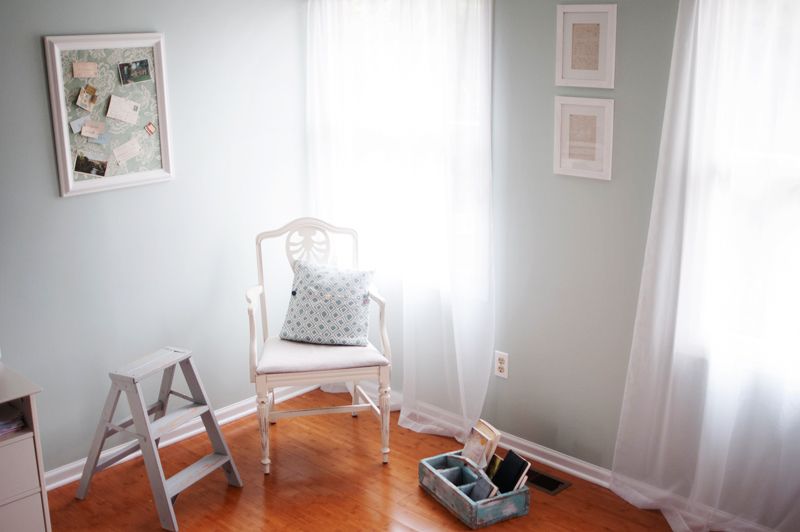
A little reading nook with a chair, step ladder, and book holder that I'd snagged for great prices at a local antique dealer...
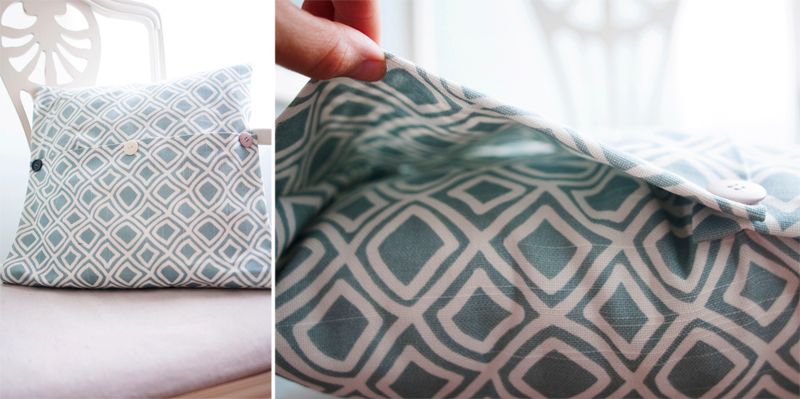
All pathetic sewers (like me) rejoice! To cover this pillow, I simply folded the fabric like I was wrapping a present and hand sewed it in place adding three buttons...
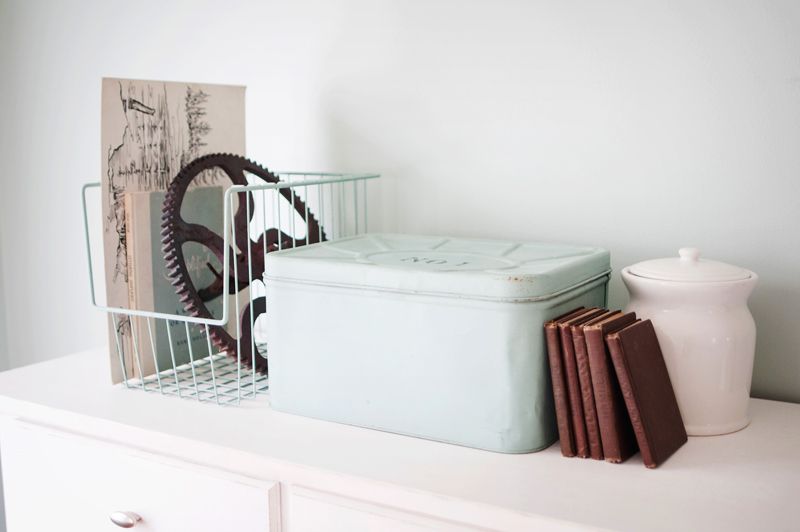
After enduring flowers on his dresser in the past, my husband asked for a more manly set up on his dresser. I found a large gear stashed with the cheaper items outside the antique store. Also, a piece of shelving had fallen out of the freezer in our garage. I covered it in some of the chalk paint (proving it really can stick to anything) and used it as a sort of container. With some other items from around the house, the dresser was complete and met with my hubby's approval...
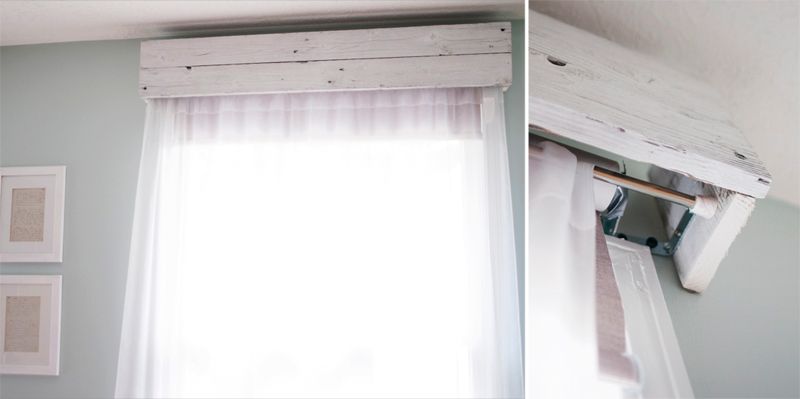
I mixed the chalk paint with water to give the pallet board cornices I made a white washed looked. After attaching the wooden cornices to the wall, I used some tension rods that they previous owner had left to hang sheers for that great hard and soft feel...
Here are some other rustic touches in the room...
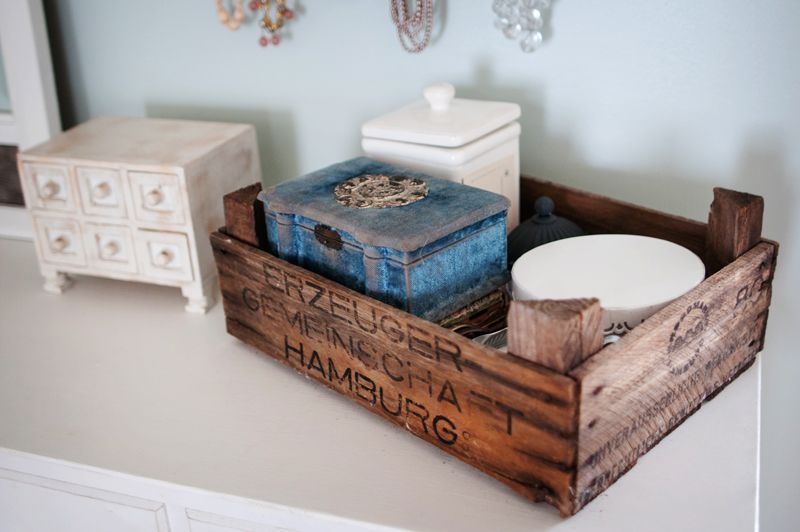
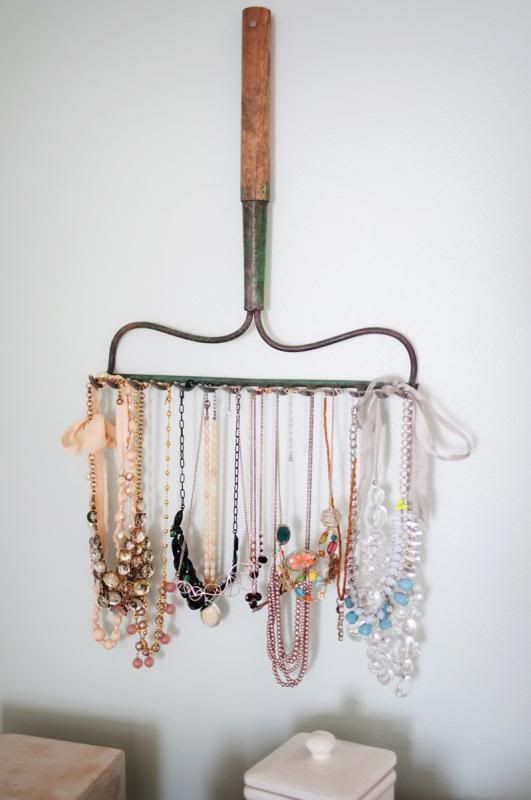
My super-understanding husband came home one day to find our garden rake chopped. Girly necklaces and a garden rake is like a perfect juxtaposition...
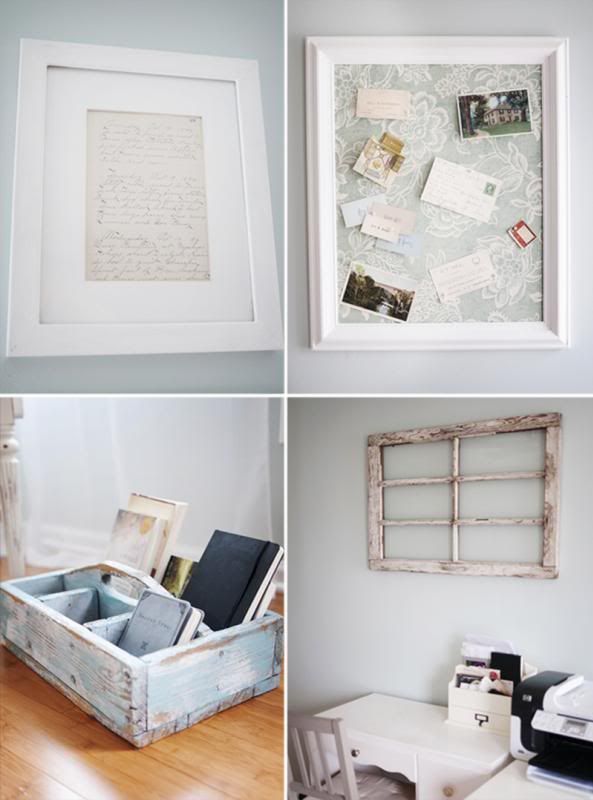
Clockwise from the top left: 1. Some pages removed from my great, great grandfather's diary (I figure I'm enjoying them far more on my wall) make for a personal, unique wall display. 2. Covering a memo board in fabric and framing it makes for a great place to display old family name/post cards. 3. An old window to spruce up the office area. You kind of see a cheap Ikea chair that got a chalk paint make-over as well. 4. Tool holder turned book container.
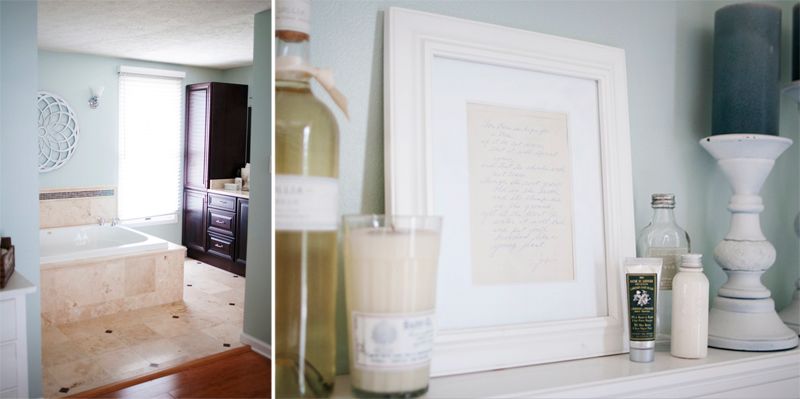
The master bath is connected with no door. At first, we thought we would want to change this, but instead we ended up loving the "hotel room" feel that it gives the space. After her death, I found a portion of a chapter in "Job" written out by my grandmother. I framed it and gave it a spot in the bathroom decor.
There you have it. A new master bedroom with the help of some chalk paint, lots of re-purposed items, and some good old pallet boards.
As you can see from the realty picture, we got to start with a wonderfully clean slate...

And present day...

Our original bedroom furniture was a beech wood missionary style set. We had picked it out shortly before our wedding; and now I felt I had outgrown it. I made my husband promise me that we would get new furniture for our room when we moved. But it didn't take me long to realize that would totally impractical and not fit in our budget. So I started brainstorming on what to do. I knew I wanted to make sure it no longer "matched". The first step was to move the bed frame to the guest bedroom, and create a headboard that would be centerpiece of our room. This was done by raiding my girlfriend's burn pile that was full of deconstructed pallet boards. I bought a large slab of plywood, and simply started piecing the new headboard together and nailing the pallet wood into place. Next was to paint the dressers white and the nightstand gray.

Finally, I detached the mirror over my dresser, flipped it, cut out the wooden spindles, and cut a piece of pallet wood to fit.

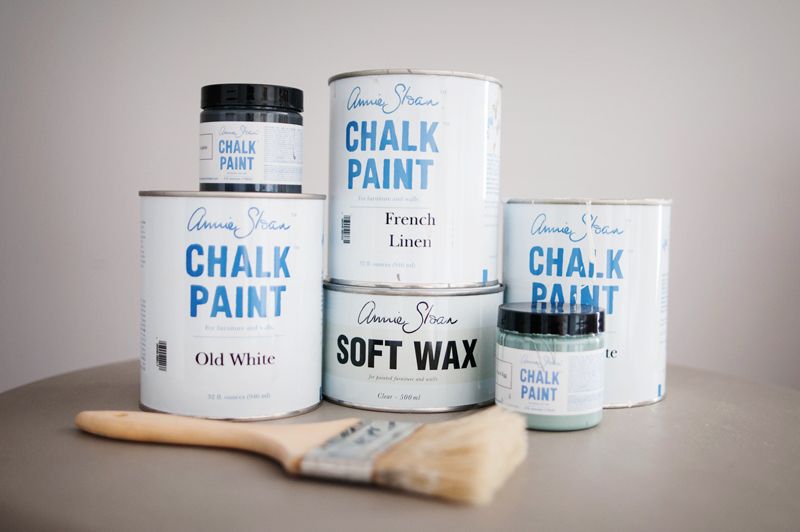
My secret weapon was Annie Sloan Chalk Paint™. And, no, I don't mean chalkboard paint. This chalk paint is pure magic. At first I gawked at the price, but it ended up saving me both time and money. It sticks to anything and requires no sanding and no priming and goes on like butter. It literally cuts your work time in a third. Finally, when I say it saved me money, I'm being totally serious because a little goes a very long way. I did both of our dressers and the window cornices (plus a bunch of photo frames) with one quart of this paint and still had some left over.

A little reading nook with a chair, step ladder, and book holder that I'd snagged for great prices at a local antique dealer...

All pathetic sewers (like me) rejoice! To cover this pillow, I simply folded the fabric like I was wrapping a present and hand sewed it in place adding three buttons...

After enduring flowers on his dresser in the past, my husband asked for a more manly set up on his dresser. I found a large gear stashed with the cheaper items outside the antique store. Also, a piece of shelving had fallen out of the freezer in our garage. I covered it in some of the chalk paint (proving it really can stick to anything) and used it as a sort of container. With some other items from around the house, the dresser was complete and met with my hubby's approval...

I mixed the chalk paint with water to give the pallet board cornices I made a white washed looked. After attaching the wooden cornices to the wall, I used some tension rods that they previous owner had left to hang sheers for that great hard and soft feel...

Here are some other rustic touches in the room...

My super-understanding husband came home one day to find our garden rake chopped. Girly necklaces and a garden rake is like a perfect juxtaposition...
Clockwise from the top left: 1. Some pages removed from my great, great grandfather's diary (I figure I'm enjoying them far more on my wall) make for a personal, unique wall display. 2. Covering a memo board in fabric and framing it makes for a great place to display old family name/post cards. 3. An old window to spruce up the office area. You kind of see a cheap Ikea chair that got a chalk paint make-over as well. 4. Tool holder turned book container.
The master bath is connected with no door. At first, we thought we would want to change this, but instead we ended up loving the "hotel room" feel that it gives the space. After her death, I found a portion of a chapter in "Job" written out by my grandmother. I framed it and gave it a spot in the bathroom decor.

There you have it. A new master bedroom with the help of some chalk paint, lots of re-purposed items, and some good old pallet boards.

SO gorgeous!! I love the headboard, the rustic touches... the painted dresser and bedside table... everything is perfect!! {i love annie sloan chalk paint... it's so fun to work with!!} great job!! it is serene and beautiful...
ReplyDelete