There is this one frustrating thread through my life. Anytime I ignore my mother's advice, I regret it. Well, except for my decision to use a soundtrack for my wedding processional. I was right on that one; which means- Alyssa: 1 Mom: 953.
I won't even bore you with the excessive stories of how she ended up being right time and time again. But I will tell you about the window treatments. At every single place I have lived in since getting married (which is 6 places in 12 years), she has advised me to make my own window coverings. Each time it goes something like this:
Mom: "Honey, you should really consider making your own window treatments. They are far cheaper and so easy.."
Me: "Mom, you know I can hardly sew a straight line."
Mom: "They truly aren't difficult to do."
Me: "Mom, I acted like I had just made Kate Middleton's wedding dress when I completed a pathetic pillow. You know how it is."
Mom: "I really think you could do it."
Me: "You're supposed to say that; your my mom."
Well last year, faced with a new house full of windows and a wallet not-so-full of money, I finally caved. I actually made my own window bling. And Mom was *cough* *mumble* right. Again.
So, I'm hear to preach the window treatment truth to you...
Really! Take it from a non-sewer who resisted for over a decade.
First, there were the valances in the kitchen and breakfast nook:
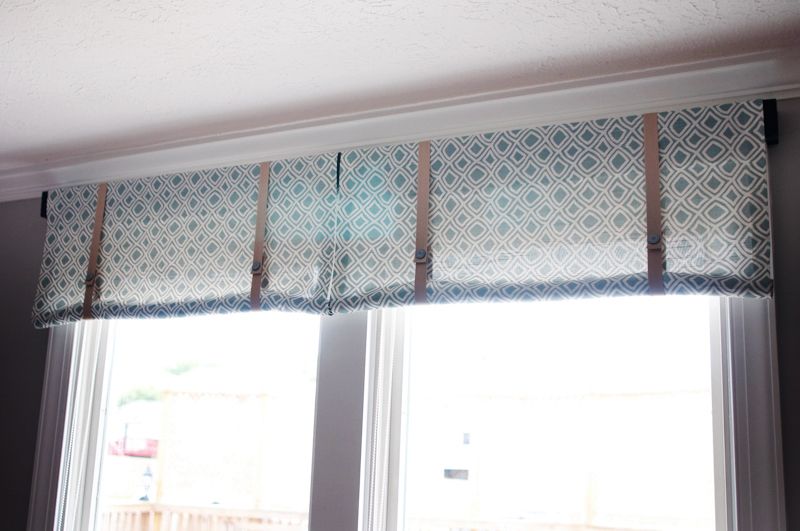
I used a 1x4 piece of lumber instead of a curtain rod to give it a unique look that began the money savings. I simply painted it, cut it, screwed in smaller pieces to the long front piece, and used brackets to hang the whole thing:
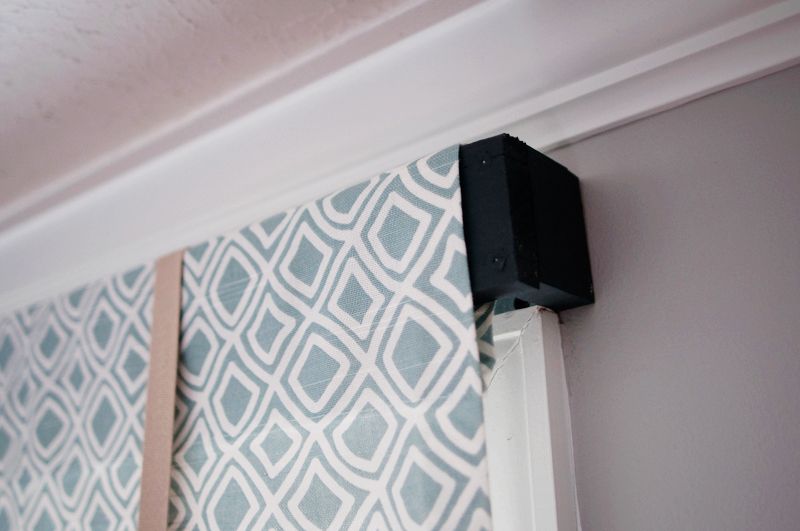
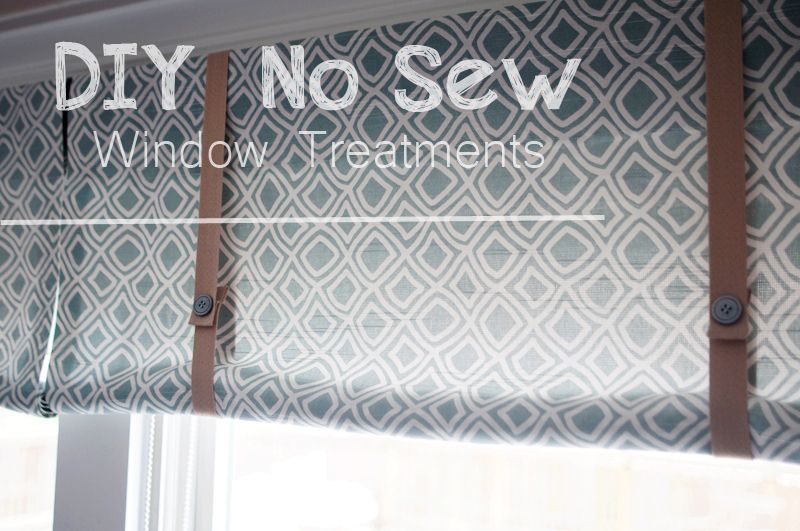
Then I started collecting my materials for the valance. I hit up Calico Corners when they were having their biggest sale of the year for the fabric and bought twill ribbon, buttons, and wooden dowels from JoAnn Fabrics.
Then I followed THESE clear, simple instructions from the Painted Hive.
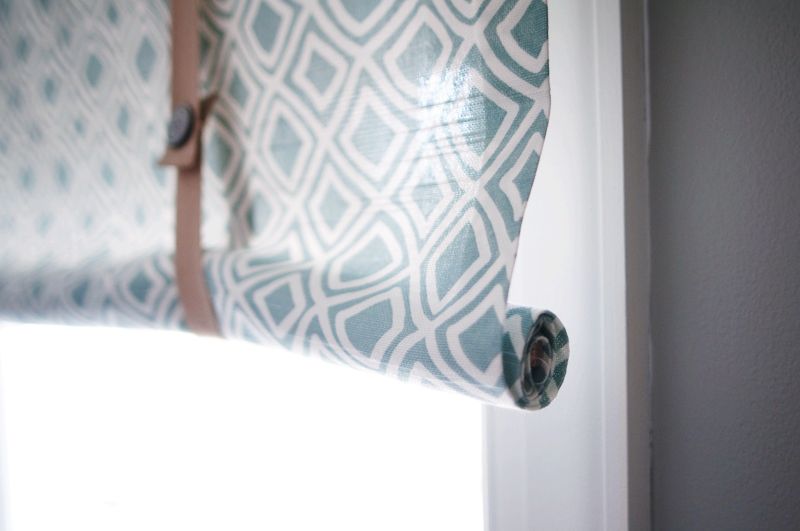
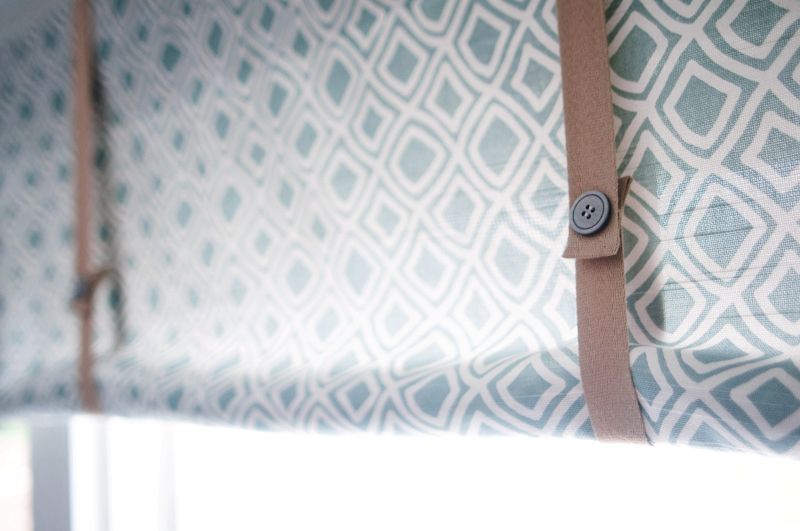
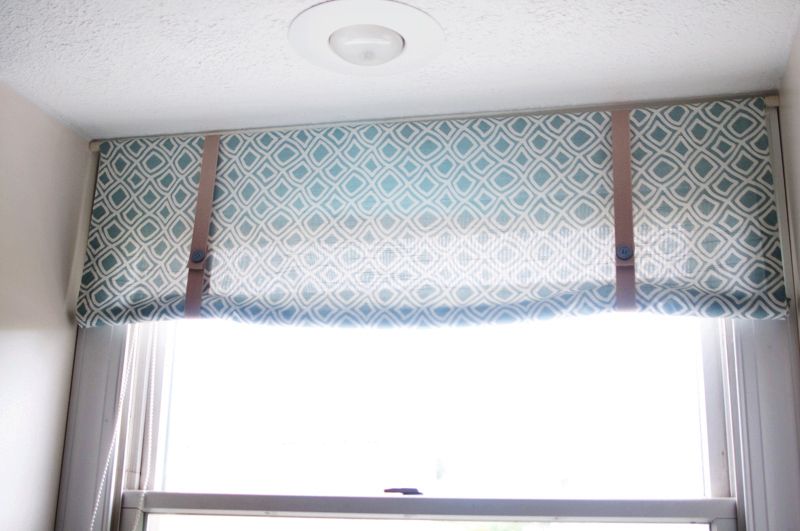
Above my kitchen sink, I used a tension rod the old owners had left behind to hang the valance:
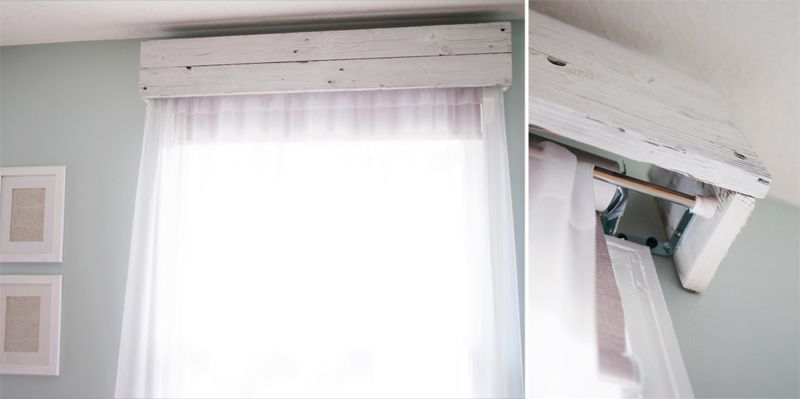
In my bedroom, I wanted to to use the sheers that came with the house and to make a wooden cornice. I used some cut pallet wood and whitewashed it with Annie Sloan Chalk Paint (half paint, half water). In a similar way as the wooden curtain rod I described above, I used brackets to hold the two long pieces of wood together and to attach the small side pieces. Then I used a tension rod inside the wooden cornices. I love the hard/soft feel that it gave:
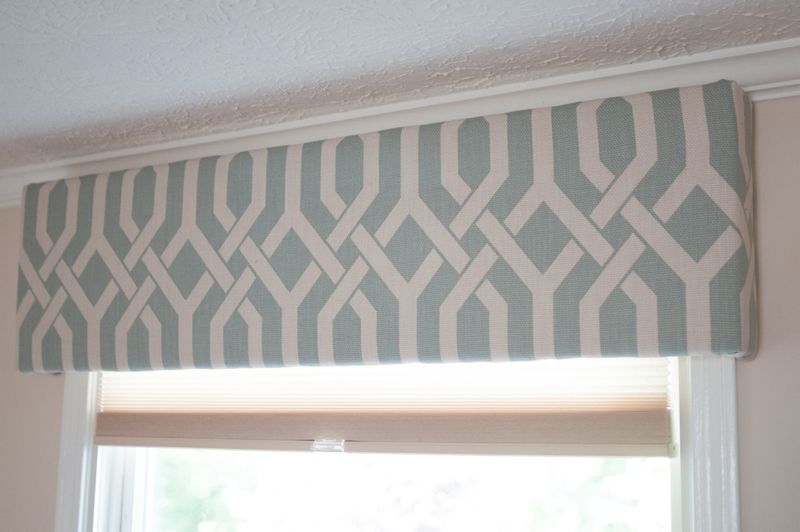
For my front room, I wanted some fabric cornices to hide the shades:
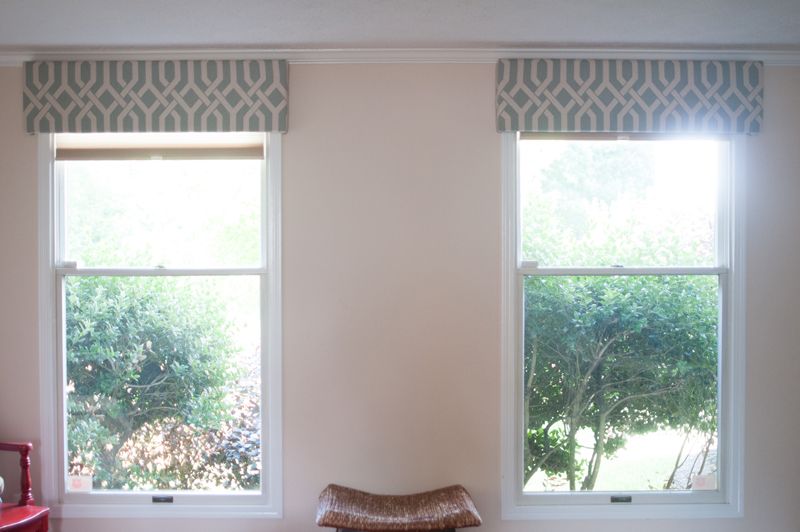
The materials for this were only the fabric, lumber, brackets, batting, and a borrowed staple gun from my dad. I used THIS tutorial from Inspired Whims.
A couple of last tips:
1) For the wider windows (like the one in my breakfast nook) be sure to support and window covering structure in the middle so it doesn't eventually bow.
2) Always, always put your treatments above your windows to draw the eye upward and give the illusion of bigger windows.
And if you want to make drapes yourself, hit up Pinterest where they're now even showing you how to construct those out of drop clothes. I haven't ventured into the drape-making world yet, but I'll get there...eventually...and make my mom proud.


