
This year I took Labor Day a little more literally and spent the weekend laboring to finally work on re-doing our guest bedroom (which happens to currently be my sister's bedroom as we have the privilege of her presence while she attends college). While my husband kept the kids occupied with some last trips to the pool, my sister and I gabbed and painted and gabbed some more until we were giddy and high on paint fumes.
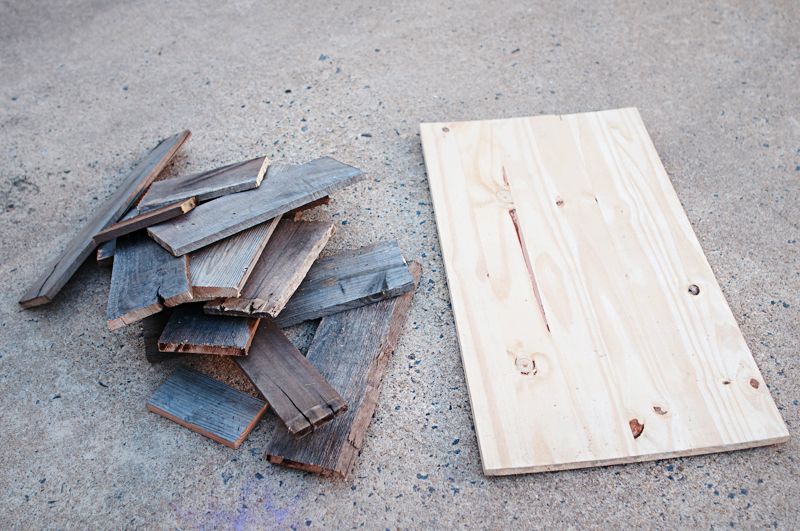
I started with a pile of pallet wood pieces and a slab of 3/4" thick plywood that was slightly smaller than what I wanted the final piece to be.
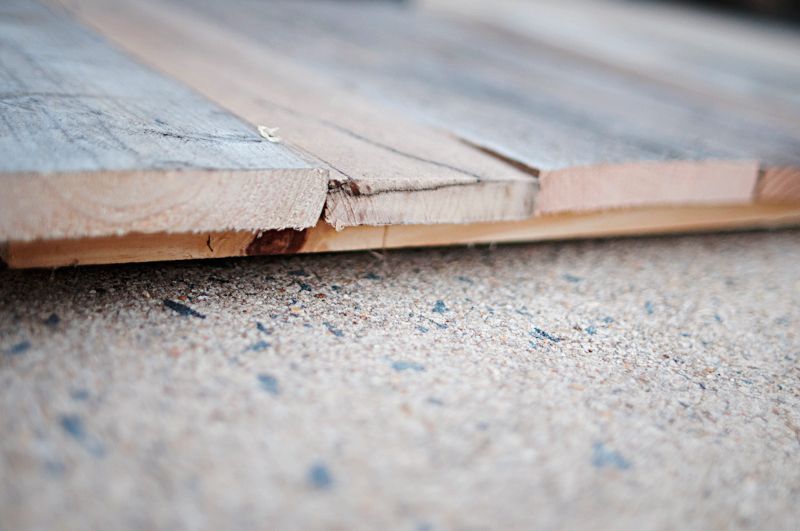
I used a miter saw and measuring tape to put the pallet pieces together like a puzzle.

I made sure to have about 1 1/2" overlay so that the plywood would not be visible when everything was completed and hung.
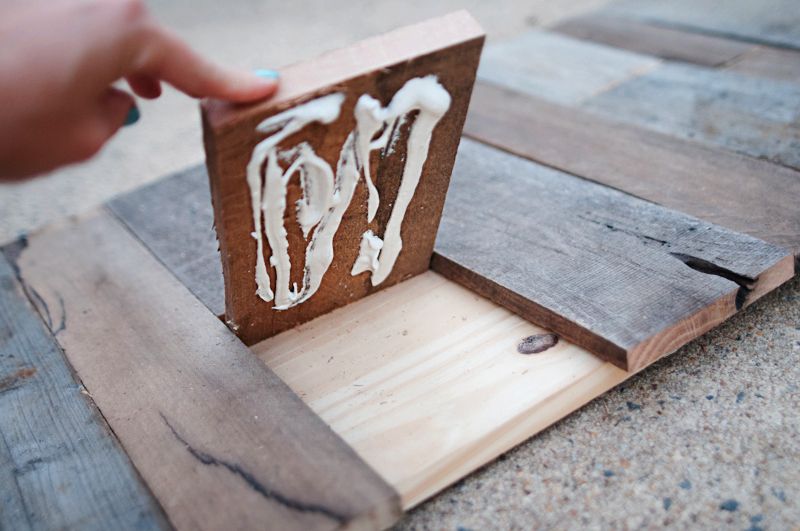
Then I simply used Gorilla wood glue on the back of each piece of wood to secure it. I made sure to use some heavy object to hold it in place while it dried overnight.
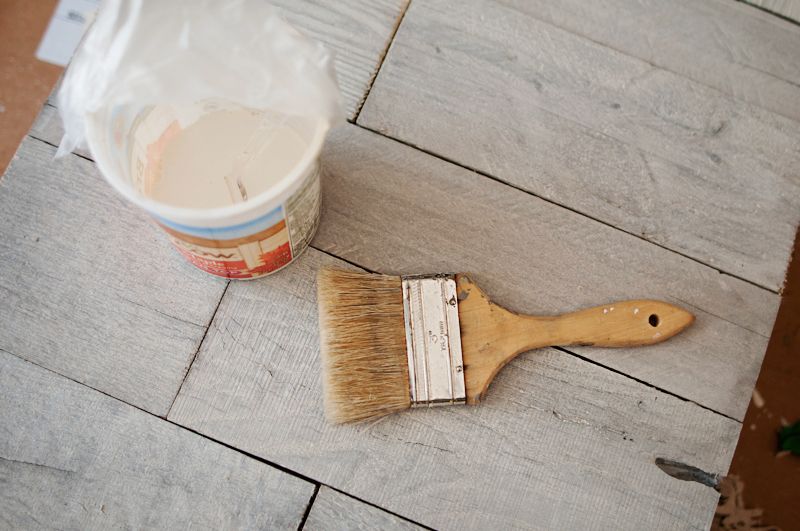
For a really rustic look, you could simply the leave the pallet wood as-is, but for this project I decided to white wash the wood. I chose to white wash instead of fully paint so that the grain and details of the wood would still show through. I used four parts water to one part Annie Sloan's chalk paint in Old White (but any other paint that would mix with water should work.)
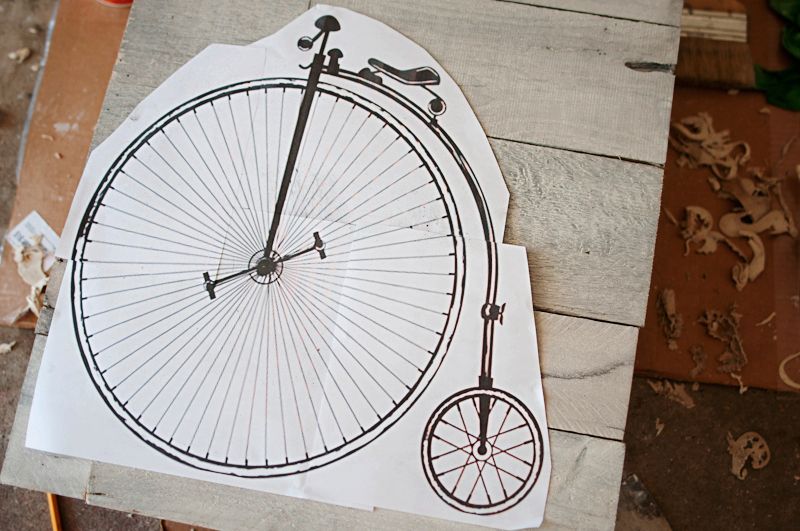
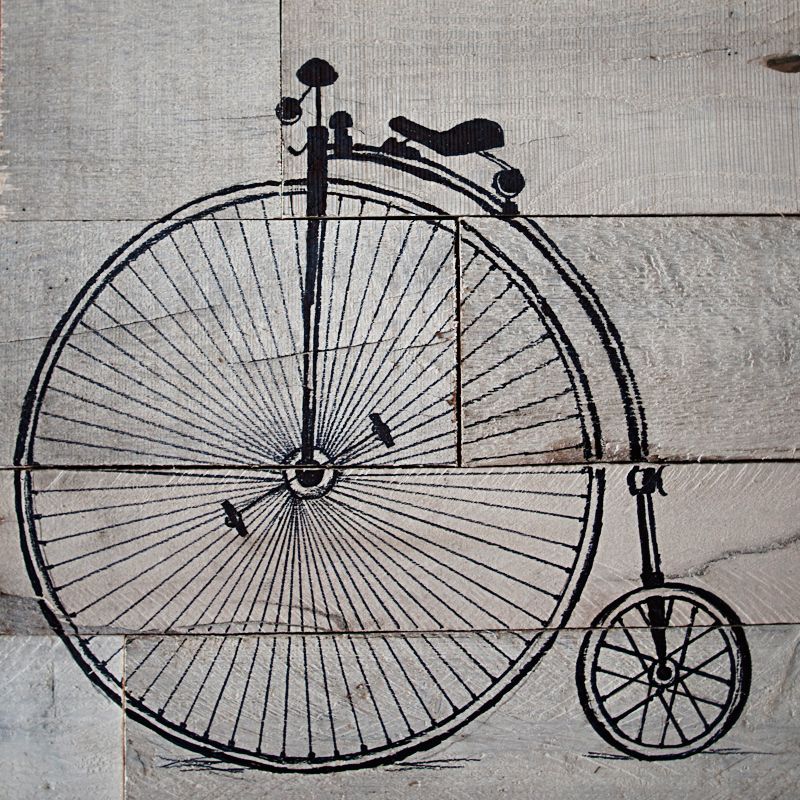
I found a free template for a vintage bike and printed it up. If you're not feeling adventurous, you could also just print up some large wording that you would want to display.
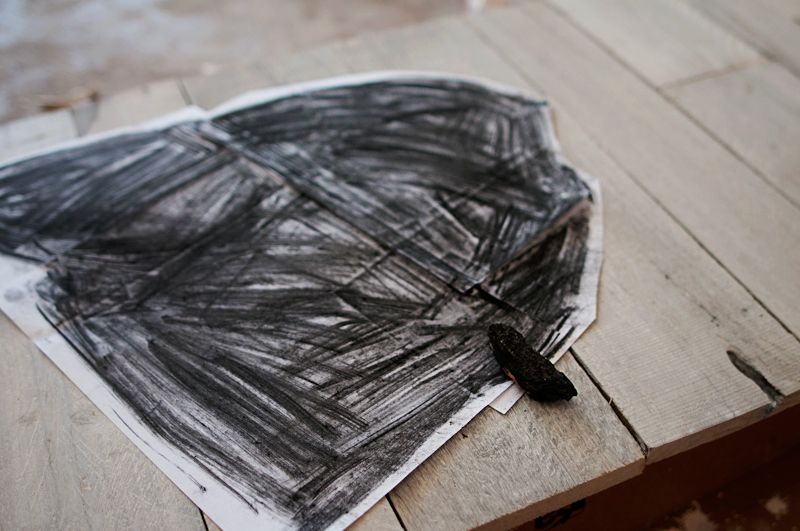
I flipped the paper over and covered it in charcoal. I simply used a piece of charred wood we had left over in our fire-pit to do the job.
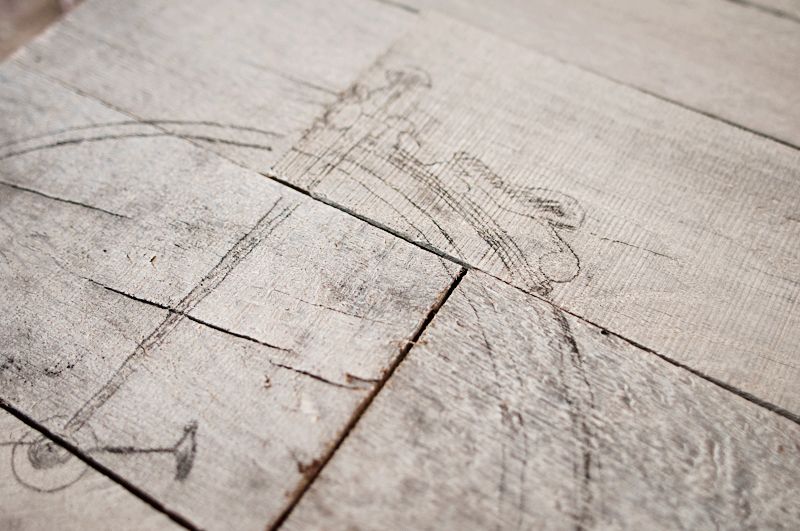
After that I flipped the paper back over and positioned the image exactly where I wanted it. Then I began to trace the major parts by firmly drawing over it with a pencil.
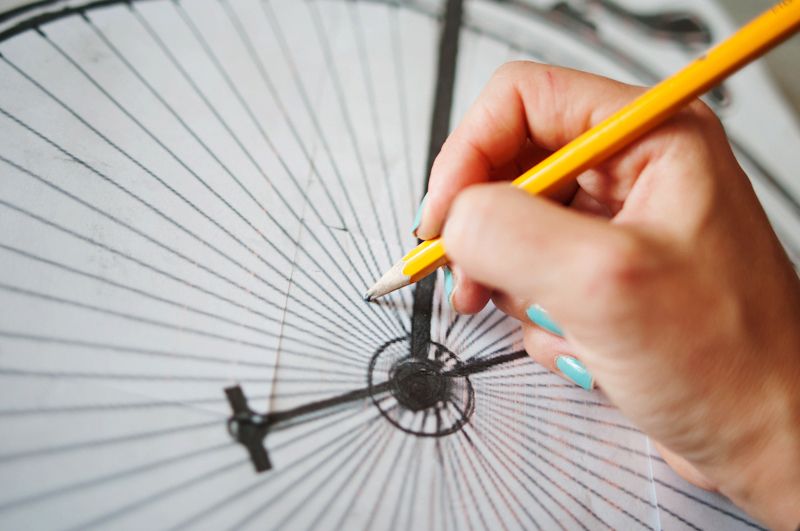
The end result was an outline for me to follow courtesy the charcoal.
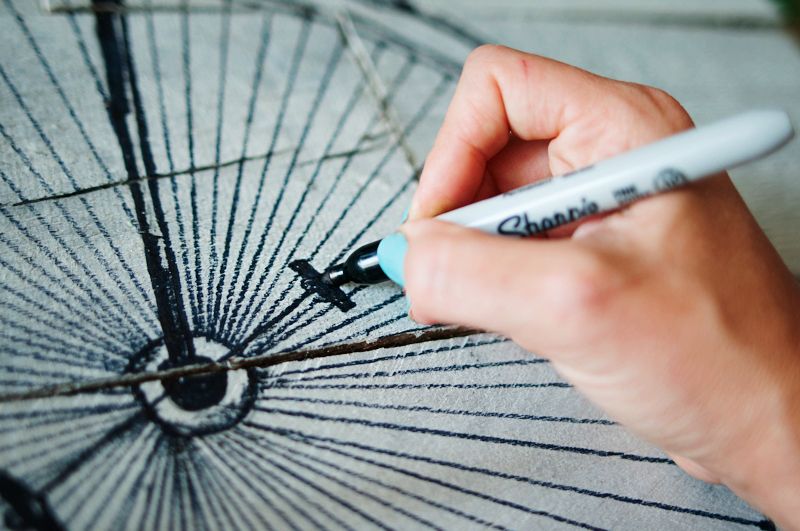
Finally, I took a Sharpie and drew over the charcoal guidelines. Yes, it was that simple.
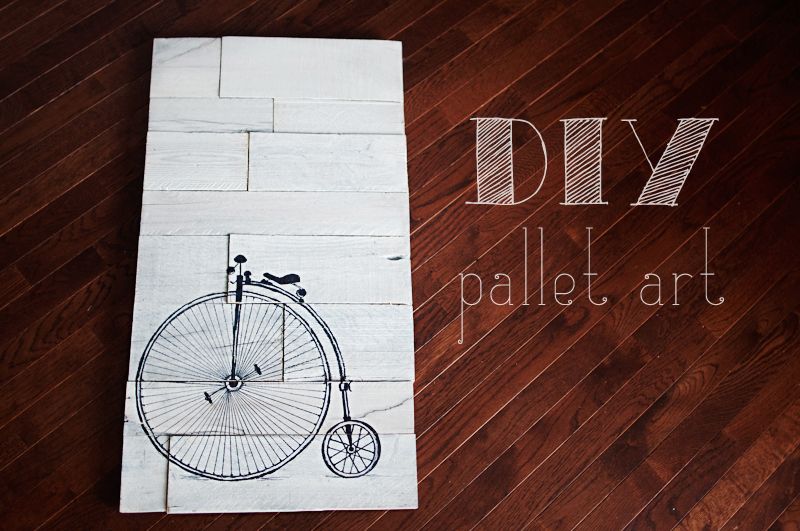
And viola...
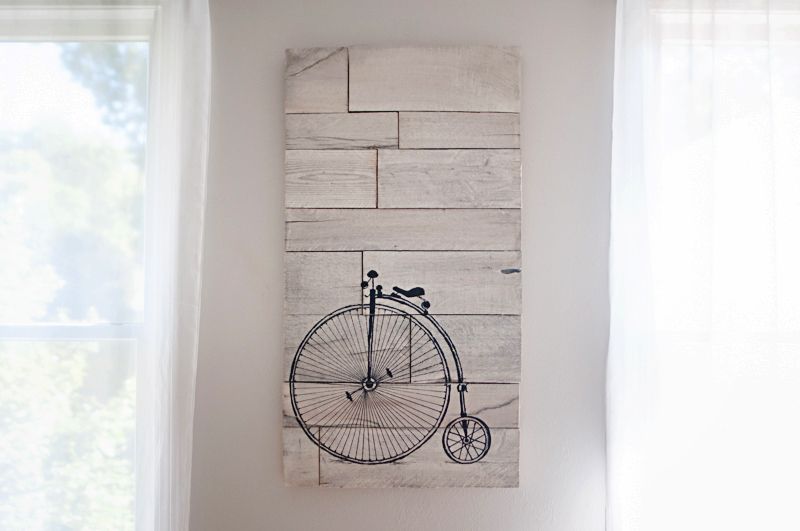
I simply attached hanging hardware to the back and made sure I used drywall anchors so that the wall could handle the weight of the wood.
Because I already had the pallet wood and paint, this project was the cost of the plywood piece, Sharpie, glue, and hanging hardware. Simple, cheap, and yet personal art.
Happy Friday, y'all.
I wanted to put at least one piece of art on the wall. One of my preferences is to use art that has some meaning to our family. Usually this means something like framing a verse my grandmother wrote out; putting up old family calling cards; displaying a couple pages from my great, great grandfather's diary; or of course, filling the walls with photos. But for this room, I had the urge to get the meaning from making some art. I knew I wanted it to be a eclectic piece to balance out the soft cream and gray colors we used in the room.
This project turned out to be surprisingly simple; so as a current DIY addict, I thought I'd share it with you to inspire your own art.

I started with a pile of pallet wood pieces and a slab of 3/4" thick plywood that was slightly smaller than what I wanted the final piece to be.

I used a miter saw and measuring tape to put the pallet pieces together like a puzzle.

I made sure to have about 1 1/2" overlay so that the plywood would not be visible when everything was completed and hung.

Then I simply used Gorilla wood glue on the back of each piece of wood to secure it. I made sure to use some heavy object to hold it in place while it dried overnight.

For a really rustic look, you could simply the leave the pallet wood as-is, but for this project I decided to white wash the wood. I chose to white wash instead of fully paint so that the grain and details of the wood would still show through. I used four parts water to one part Annie Sloan's chalk paint in Old White (but any other paint that would mix with water should work.)

I found a free template for a vintage bike and printed it up. If you're not feeling adventurous, you could also just print up some large wording that you would want to display.

I flipped the paper over and covered it in charcoal. I simply used a piece of charred wood we had left over in our fire-pit to do the job.

After that I flipped the paper back over and positioned the image exactly where I wanted it. Then I began to trace the major parts by firmly drawing over it with a pencil.

The end result was an outline for me to follow courtesy the charcoal.

Finally, I took a Sharpie and drew over the charcoal guidelines. Yes, it was that simple.

And viola...

I simply attached hanging hardware to the back and made sure I used drywall anchors so that the wall could handle the weight of the wood.
Because I already had the pallet wood and paint, this project was the cost of the plywood piece, Sharpie, glue, and hanging hardware. Simple, cheap, and yet personal art.

Happy Friday, y'all.
LOVE this!! So cute! Did you use special paper for the bike OR just regular printer paper?
ReplyDeleteIt was regular printer paper. Easy, peasy!
Delete